- You must be logged in to take quizzes.
Back to: Introduction and Installation of S4A
In this Section we will see how to install S4A software and use Arduino board through coding for our projects.
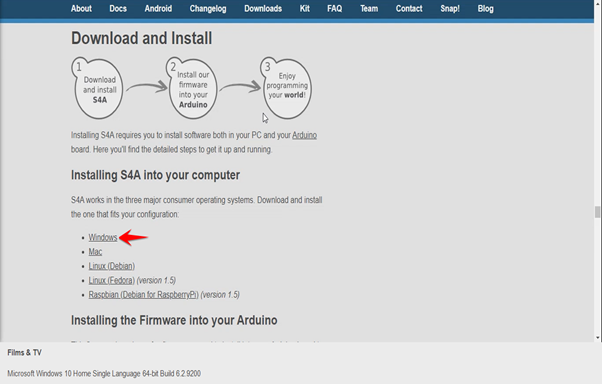
- Go to Google Chrome and search S4A. Click this which is your official website and click Downloads. Here select Windows and you can see your download begining automatically.
- After downloading it, scroll down and click here to download the firmware code which we have to upload to our Arduino Board before we can use it through S4A software.
- Click this and open in folder. Click this Application file, select your Language and click OK. Then Click Next to enter your Setup Wizard.
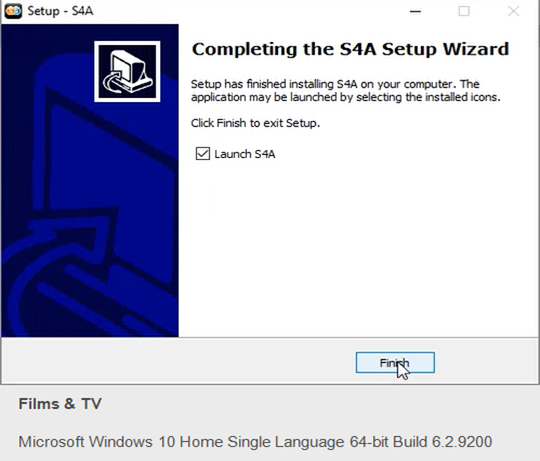
- Click this to accept the agreement, click Next, make sure desktop icon bar here is selected and click Next. Click this and your Installation will start and finally click finish to open your S4A software.
- This is our project area and here we will find all coding blocks and in our output window you can see, it is searching for our Arduino board. Now I will connect my Arduino board to the system, still it is showing searching for board which means we have not uploaded firmware to our Arduino board.
- So go to downloads, click this downloaded fimware code and click OK and the code will open in your Arduino IDE software.
- Go to Tools, select Board as Arduino UNO and port to which you have connected. Click this upload button.
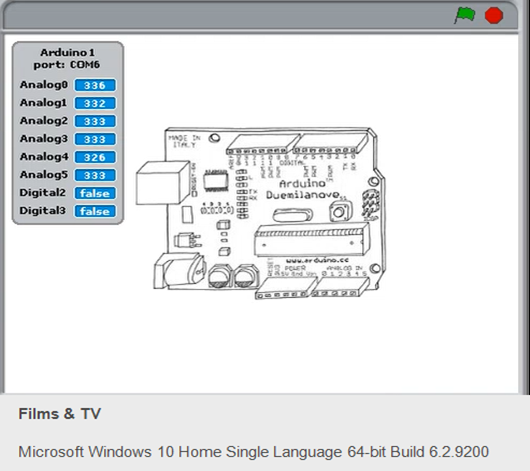
- After your uploading is done, open your S4A software. Now you can see it has detected our Arduino board which is shown here as COM 6 through which we have connected our Arduino board.
- Now you can code and use your connected Arduino board for your projects.